

The Ultimate Guide to Car Oil Changes: Everything You Need to Know
Regular oil changes are essential for maintaining your car’s engine and ensuring optimal performance and longevity. Despite being a relatively simple task, many car owners overlook the importance of regular oil changes or are unsure of the process. In this comprehensive guide, we’ll cover everything you need to know about car oil changes, from why they’re important to how to perform them correctly.
Why Are Oil Changes Important?
Oil plays a crucial role in lubricating the engine’s moving parts, reducing friction, and carrying away heat and debris. Over time, however, oil breaks down, becomes contaminated, and loses its effectiveness. Without regular oil changes, old and dirty oil can lead to increased engine wear, reduced fuel efficiency, and even engine damage.
When to Change Your Oil:
The frequency of oil changes depends on several factors, including your car’s make and model, driving habits, and environmental conditions. As a general rule of thumb, most manufacturers recommend changing the oil every 5,000 to 7,500 miles or every six months, whichever comes first. However, you should always consult your car’s owner’s manual for the manufacturer’s specific recommendations.
Steps to Perform an Oil Change:
Performing an oil change yourself can save you time and money, but it’s essential to do it correctly. Here’s a step-by-step guide to help you perform a car oil change safely and effectively:
Gather the necessary supplies: You’ll need a new oil filter, the appropriate type and amount of motor oil, a wrench or socket set, an oil filter wrench, a drain pan, and safety equipment like gloves and safety glasses.
Prepare your car: Park your car on a level surface and allow the engine to cool down for a few minutes. Engage the parking brake and chock the wheels to prevent the car from rolling.
Drain the old oil: Locate the oil drain plug underneath the car and place the drain pan beneath it. Use a wrench or socket set to loosen the drain plug and allow the old oil to drain completely.
Replace the oil filter: Use an oil filter wrench to remove the old oil filter and discard it. Before installing the new oil filter, apply a thin layer of fresh oil to the rubber gasket to ensure a tight seal. Install the new oil filter by hand, tightening it according to the manufacturer’s specifications.
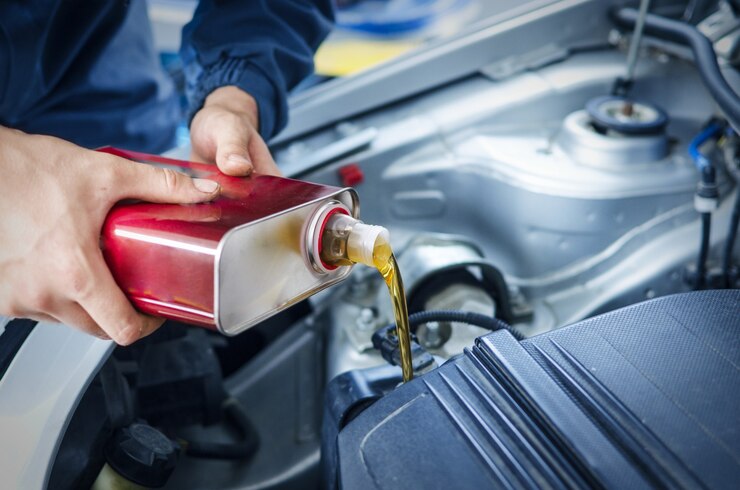
Add fresh oil: Locate the oil filler cap on top of the engine and remove it. Use a funnel to pour the appropriate amount of fresh oil into the engine, according to the manufacturer’s recommendations.
Check the oil level: Once you’ve added the new oil, replace the oil filler cap and start the engine. Allow the engine to run for a few minutes, then turn it off and wait for a few minutes to allow the oil to settle. Check the oil level using the dipstick and add more oil if necessary.
Dispose of the old oil: Properly dispose of the old oil by transferring it from the drain pan to a sealed container and taking it to a recycling center or auto parts store that accepts use oil for recycling.
Regular oil changes are a simple yet essential aspect of car maintenance that can help prolong the life of your engine and prevent costly repairs down the road. By following the steps outlined in this guide and performing oil changes at the recommended intervals, you can keep your car running smoothly for years to come. If you’re ever unsure about performing an oil change yourself, don’t hesitate to seek professional help from a qualified mechanic.